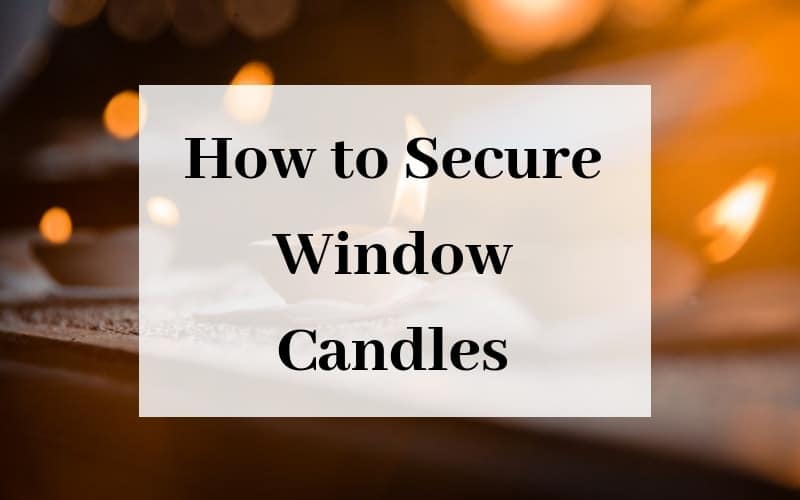
The sight of a glowing window candle is beautiful and makes the house lively. What’s impressive is the fact that they are the first built-in candles in the world designed for windows, and comes as a decorating system with low-voltage. No other renowned product matches the safety features, design flexibility, and convenience of window candles. The windows get installed by wiring them into your home’s window sill. The result is a well-mounted and secure window candle without any wires or cords exposed. Are you wondering how to secure window candles? Then you’ll have to keep on reading this article as it will illustrate a step by step guideline on how to fix window candles.
Just like removing a window candle, installing it is easy. The window sill contains a permanent mounting clip which enables the candle to slide in and out easily. If the window candle is not in use, you can place a small cover made with rubber on the mounting clip for its protection. Thanks to the low-voltage technology used in its making, the window candle is never hot on touch, and there’s no risk of anyone getting shocked.
High-voltage candles are dangerous because they can cause fire or burns. Besides, there are no chances of exposed wires and cords, eliminating the possibility of pets and kids knocking off the candles placed on the window sills. The colors and designs that come with window candles are many. Depending on your preference, you get to choose from a variety. Whatever your choice, here is a guide on how to secure your window candles. You may also check our step by step process on how to make candles using crayons and strings.
Guides on How to Secure Your Window Candles
Step One: Plan Your Candle Window System
Have you ever fixed a simple system before like that of an alarm, audio, or phone? If so, then installing a candle window system will be like a downhill task for you. First, you need to plan the windows and runs to get wired carefully for easier installation. Ensure that for each run, you maintain the required number of candles.
Step Two: Choose a Reliable Source of Power Supply
Many people prefer electricity, but you can also go for other sources like solar or from a generator. What’s important is the strength and consistency. A power that keeps on going off will not only deny you from enjoying the exciting experience of your candle windows but can also cause the system to become faulty.
Step Three: Wire In-Between the Walls
Whether your home is new or has been in existence, you need to wire the system into the walls. Ensure that the run is continuous to the window’s sill plate. Use the appropriate wire like the yellow window candles wire. Drill holes of the proper size like 3/8” in diameter into the wall. Then run the wire through from one window to another.
Step Four: Drill a Mounting Hole
At the sill plate’s center, drill a ¾-inch hole with a clearance of 1 and 1/4-inch distance from the window and the drilled hole. If the window has any hardware, allow more clearance space.
Step Five: Pull the Wire That Passes Through the Mounting Hole
Pull the wire which is still running continuously into the mounting hole that you’ve just drilled. The pull can be up to 6 – 8 inches. Then tie the wire into a knot or tape it to the window to avoid falling back. Never staple the wire because the excess gets pushed in the hole after finishing the installation.
Step Six: Fix the Window Sticker
The stickers provided should get fixed on every window’s inside. Then get a professional carpenter to make and put a window sill, trim, and drywall.

Step Seven: Run the Wire to the Power Source
After running the wire through all the windows, then route it to your power source but do not connect. You can mark the wire to help you identify which zone the wire is to run.
Step Eight: Drill a Mounting Hole
Following the instructions on the inside of the windows, your carpenter should have drilled a hole in the window sill of ¾-inch. The wire is then supposed to have gotten passed through it.
Step Nine: Test the System
You can now connect all the wires to your power supply to test for shorts or loose connections. Fix an audible buzzer to all the wires attached. In case of any problem, the buzzer will alarm you by emitting a sound. You can choose to test specific parts or the entire house. If all is okay, continue to the next step. In case of a problem, inspect keenly from where you started. As a result, you will get to identify the cause of the problem or where you might have gone wrong, and then rectify.
Step Ten: Mount the Clip Assembly
If everything is okay after testing, then mount the clip assembly. At every window, there’s a wire that runs through; pull it through a wire lock and split it; you need not to find the wire’s positive or negative part as it comes as an AC power supply. Then split the screw’s hole and lay that split wire on the wire lock’s channel. Repeat the process on the wire lock’s other side. A needle nose pliers can assist in seating the wear into each channel. Then trim the wire’s end with flush cut pliers to attain a clean edge.
Step Eleven: Assemble the Mounting Clip and the Wire Clip
By use of a key and slots, insert the wire lock into the mounting clip’s bottom. Ensure that the screw holes get lined-up well. Secure the two units together by use of small screws, but avoid over-tightening.
Step Twelve: Install the Mounting Clip
After testing the system and assembling the mounting clip, you can now mount the whole mounting clip assembly in the mounting hole. Use a 1/8-inch drill to pre-drill the holes. The assembly should get secured by two large sturdy screws. While installing a mounting clip, it’s advisable to use an IRT. Tap the mounting clip down by use of an Installation and Removal Tool. Tapping the clip down is essential because sometimes the mounting clip fits snugly. Take the mounting clip and insert the IRT. Then use a hammer or rubber mallet to tap the top until the clip enters and settles appropriately.
Step Thirteen: Mount the Clip Cover Installation and Clip Removal
Clip covers can get painted to increase the appearance and keep them clean if the window candles are not in use. To install, ensure the mounting clip gets well aligned with the clip cover. Then snap the clip cover into place. To remove, pinch from front to the back of the mounting clip and cover, then lift.
Step Fourteen: Rough-In Plugs
It is less costly and more comfortable to install window candles before drywall has gotten in place. It is therefore recommended to wire the windows even if you aren’t connecting the candles immediately. Install rough-in plugs in ¾-inch mounting holes meant for the mounting clip. When ready to install the window candles, you’ll only need to pull the rough-in plugs and fix your permanent mounting clip.
Step Fifteen: Install the Candle
Align the “tee” found on the decorative candle’s bottom with the mounting clip’s “slot” and slid into position.

Step Sixteen: Base Installation
After installing the candle, slide your beautiful base over the installed window candle. Ensure the base covers the mounting clip. Candle bases come in different design, sizes, and colors. You are free to mix and interchange them to match your décor or create a desired look.
Step Seventeen: Install a Sleeve
Sleeves come as decorated and are ideal to use on the normal white candles. A sleeve is made to slide snugly above the candle. To change a sleeve, you may or may not have to remove the base or candle. The sleeve gets placed over the candlestick. Then it’s pushed down until its top flushes with that of the candlestick.
Step Eighteen: Replace Your Bulb
Bulbs used in window candles are attractive and specially designed. Avoid using bulbs with over 2watts as the circuit‘s internal safety will restrict its use. Self-extinguishing bulbs may be as a result of the bulbs containing more than 2watts.
See also The Concept of Smell Like Your State Candles.
How To Use a Zip Tie To Secure a Window Candle To Your Window
Conclusion
Window candles are appealing to the eyes, and they add light and glamour into our homes. But securing window candles can be a daunting task. You also need to know what you’re doing when securing your window candles; otherwise, you may install a faulty system. The candles may also not give the intended experience. If you had no idea on how to secure your window candles, the above step by step guide would provide you with insight. If followed to the later, you get guaranteed to enjoy well-secured window candles with exemplary results. You may also check other articles like The Best Blinds for your Bathroom Window.