
Have you ever known that crayons are a great source of wax for homemade candles? These humble accessories for drawing come in a great range of colors and they are often used for art and craft activities.
If you want to recycle the old crayons or just have fun with your kids and turn something old in something new, just try to make candles from writing instruments. Use the broken pieces of crayons alone or with some paraffin as a tinting agent and make your own scented colorful candles. We have also listed the best bath and body works candles.
Today we will give you some hints about the steps on preparing the candles with crayons and strings, also and some tips and warnings on what to take care of in this activity.
Ingredients you need when preparing candles from crayons
If you already have a bunch of old crayons, the process will be simpler. Once you have gathered all these supplies we are going to enumerate and set up a workplace where you won’t stain anything, the rest of the steps are very easy.
For more fun, it would be great to do this art and craft together with a friend.
So, you only need:
- Old crayons
- Crayons
- Strings
- Scissors
- A heat source
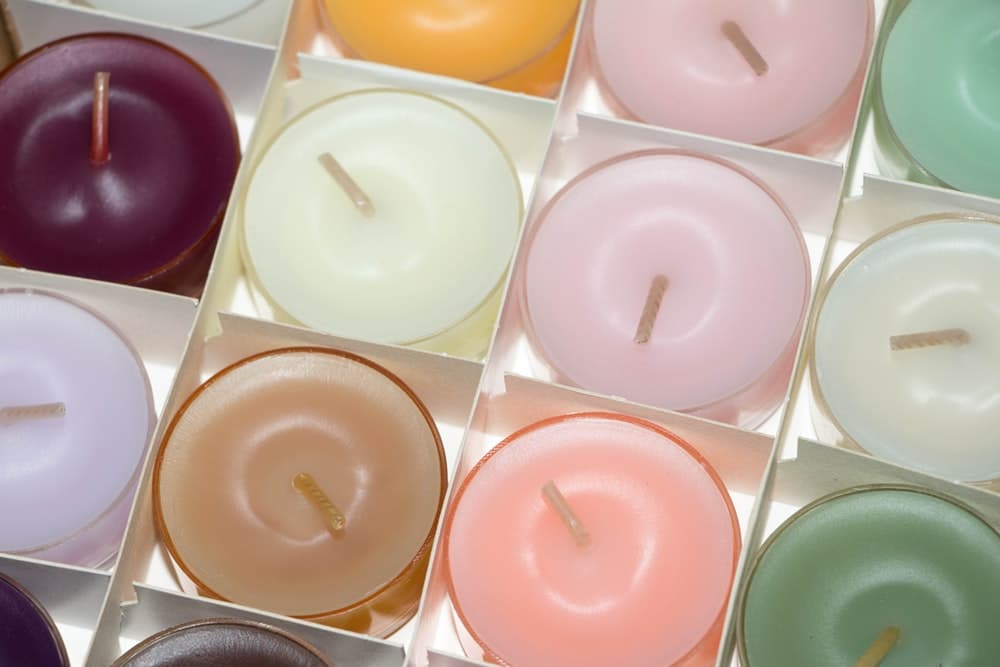
- Glass votives or any sorting containers for the future candles
- Spoon or stirring stick
These are all the things you need, now let’s get to work on it!
Prepare the crayons
The first step when creating candles is to prepare the prime material. So it’s time to collect a large number of crayons and some bits. Don’t forget to cut the stubby ends, as you don’t need them in the future steps.
If you want to create candles with precise colors, you should separate the crayons based on their shades. So red is red, blue can work beautifully with green, light colors should stay light and the darker ones can help on darkening some other colors.
Once you have sorted the crayons on shades, it’s time to peel their paper part. Just for your information, these paper wrappers don’t peel so easy as it seems, so you can use a knife or a sharp blade to help you on slitting them.
Melt the crayons

It’s time for the most satisfying part: melting the wax and crayons.
Make sure you have prepared in advance small glass cups and also the strings. Cut the strings to the desired wick length.
Set the heat source that can provide you a temperature around 150 degrees F. This can be a microwave, camp stove or a campfire. But the easiest way is to use the microwave.
Put the crayons along with the wax in a dixie cup and microwave them for 1 minute. Do some 30-seconds intervals until the wax is completely melted.
Prepare and make your candle wick
Before anything else, you need to prepare the candle wicks, so you will know that the candle will burn correctly.
The string should be approximately two inches longer than the candle holder. After you measure the wick and cut it to the proper length, melt some wax, from some little cake candles, for instance. Place them in a bowl and put them in the microwave, for two-three minutes. Take care when removing the bowl from the microwave, as it might be very hot due to the melted wax.
It’s time to submerge the cotton strings into the melted wax and let them get fully covered in wax. Remove them with some tweezers and hold them up until the wax they are covered with gets cold and hard. Try not to put the waxed strings down, until they get harden. This way you will prevent the excess wax from building up in certain spots.
Make the candles
It’s time to properly create your own candles with the melted crayons.
Tie a weight to one end of the string, so you will know it stays straight. Then tie the pencil to the other end of the string. Hold the pencil and dip the string which is weighted. Now dip it slowly and repeat this process until you have numerous layers.
Between these steps, allow the wax to congeal slightly.
Adjust the candle
Once you have layered all the wax from the crayons, cut the weight from the bottom and press the finished candle of melted crayons hard, so that you will for a smooth surface. While the wax is still soft, do the desired shaping.
Decorate the candle made from crayons
After you make sure that the candle has completely hardened, cut the wick to the desired length and add the decorations you thought about. You can easily add wax shavings or a custom label, for a more professional look of your candle. You can write anything you want on the label, from a birthday message, in case you want to offer the home-made candle as a gift, to a motivational quote to empower you in that “bad days”.
Light the Candle
Before using the candle, allow it to harden completely (overnight, on the balcony) just before moving it. The wax of the candle should be cool and firm to the touch before lighting it.
Q&A
Can I add some fragrance to the candles?
Once the wax is melted and you make sure that the can stays on a heat-safe surface, add some few drops of candle scents or essential oils.
Is it toxic to burn candles made of crayons?
Crayons are already made of nonlethal ingredients because they are dedicated to children. So it is just some colored wax and should have the same effects as burning an ordinary candle.
Can I add some color by using food coloring?
Yes, you can. Gel food coloring would nicely blend with the rest of the wax.
Which is the best way to melt the crayons?
The easiest and comfortable way to melt the crayons in order to make candle is by using the microwave.
Tips and Warnings when creating candles from crayons
- Use your imagination when choosing the containers for your future candle. For instance, coffee cans, nice water glasses or old jars would look great as candle supports
- In case you will work with children on this DIY, make sure you instruct them about the safety rules, so they will know what involves the work with hot wax and heat sources
- If you plan to work on your kitchen or coffee table, make sure you cover the workspace, so you don’t need to hardly clean up the wax scraps
- If you add paraffin to the melted crayons, do not heat it directly over the burner, as paraffin is easily combustible. Instead, use a double boiler, so you will melt it on water steam
- Do not use cookware with non-stick coatings to melt the crayons
- “Washable” crayons are not suited to this project, so do not use them
Using crayons for multiple decorations
If you love the DIY projects and you store lots of old drawing instruments, then you can use them to color pretty much anything, even rocks or shells.
For instance, a very nice project would be to decorate some pretty rocks. Just put them in the oven until they are hot and nice. Then take them out and start painting them. The crayons will melt when touching the hot stones.
A nice and interesting idea is to put crayons in a hot glue gun and to start decorating other white, simple candles. By using this glue gun, you make sure it’s easy, practical and creates a minimal mess. You can use this technique to decorate all sorts of colorful candles and create original designs for old candles.
Seashells are boring, but they won’t look ordinary anymore if you add some color. So, what you need to do is to melt some crayons and use that wax to color the interiors of the shells. This way you will make the seashells look interesting and really special. Try to read also our guide on best wax for homemade candles.
Make DIY Layered Candles with Crayons